I
really loved this chapter. It brought together many of the things we'd done in earlier chapters. I really enjoyed co-ordinating the machine stitching with the decorated fabrics. Once I had got the right idea of Chapter 10, repeating the cutting and piecing with the decorated fabrics was fascinating and fun. For some reason, I lost my usual enthusiasm for much of this Module, but now I seem to have it back and am raring to go!
I started with the paper exercises.
 |
2.11.p1
|
 |
2.11.p2
|
 |
2.11.p3
|
 |
2.11.p4
|
 |
2.11.p5
|
 |
2.11.p6
|
 |
2.11.p7
|
 |
| 2.11.p8 |
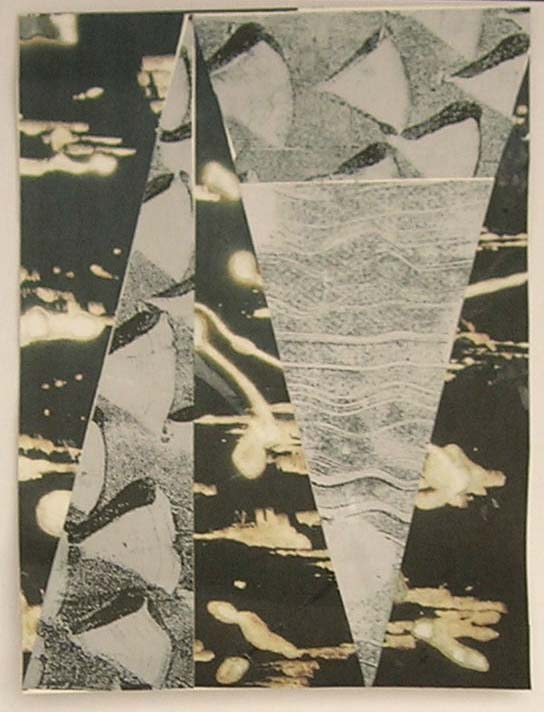
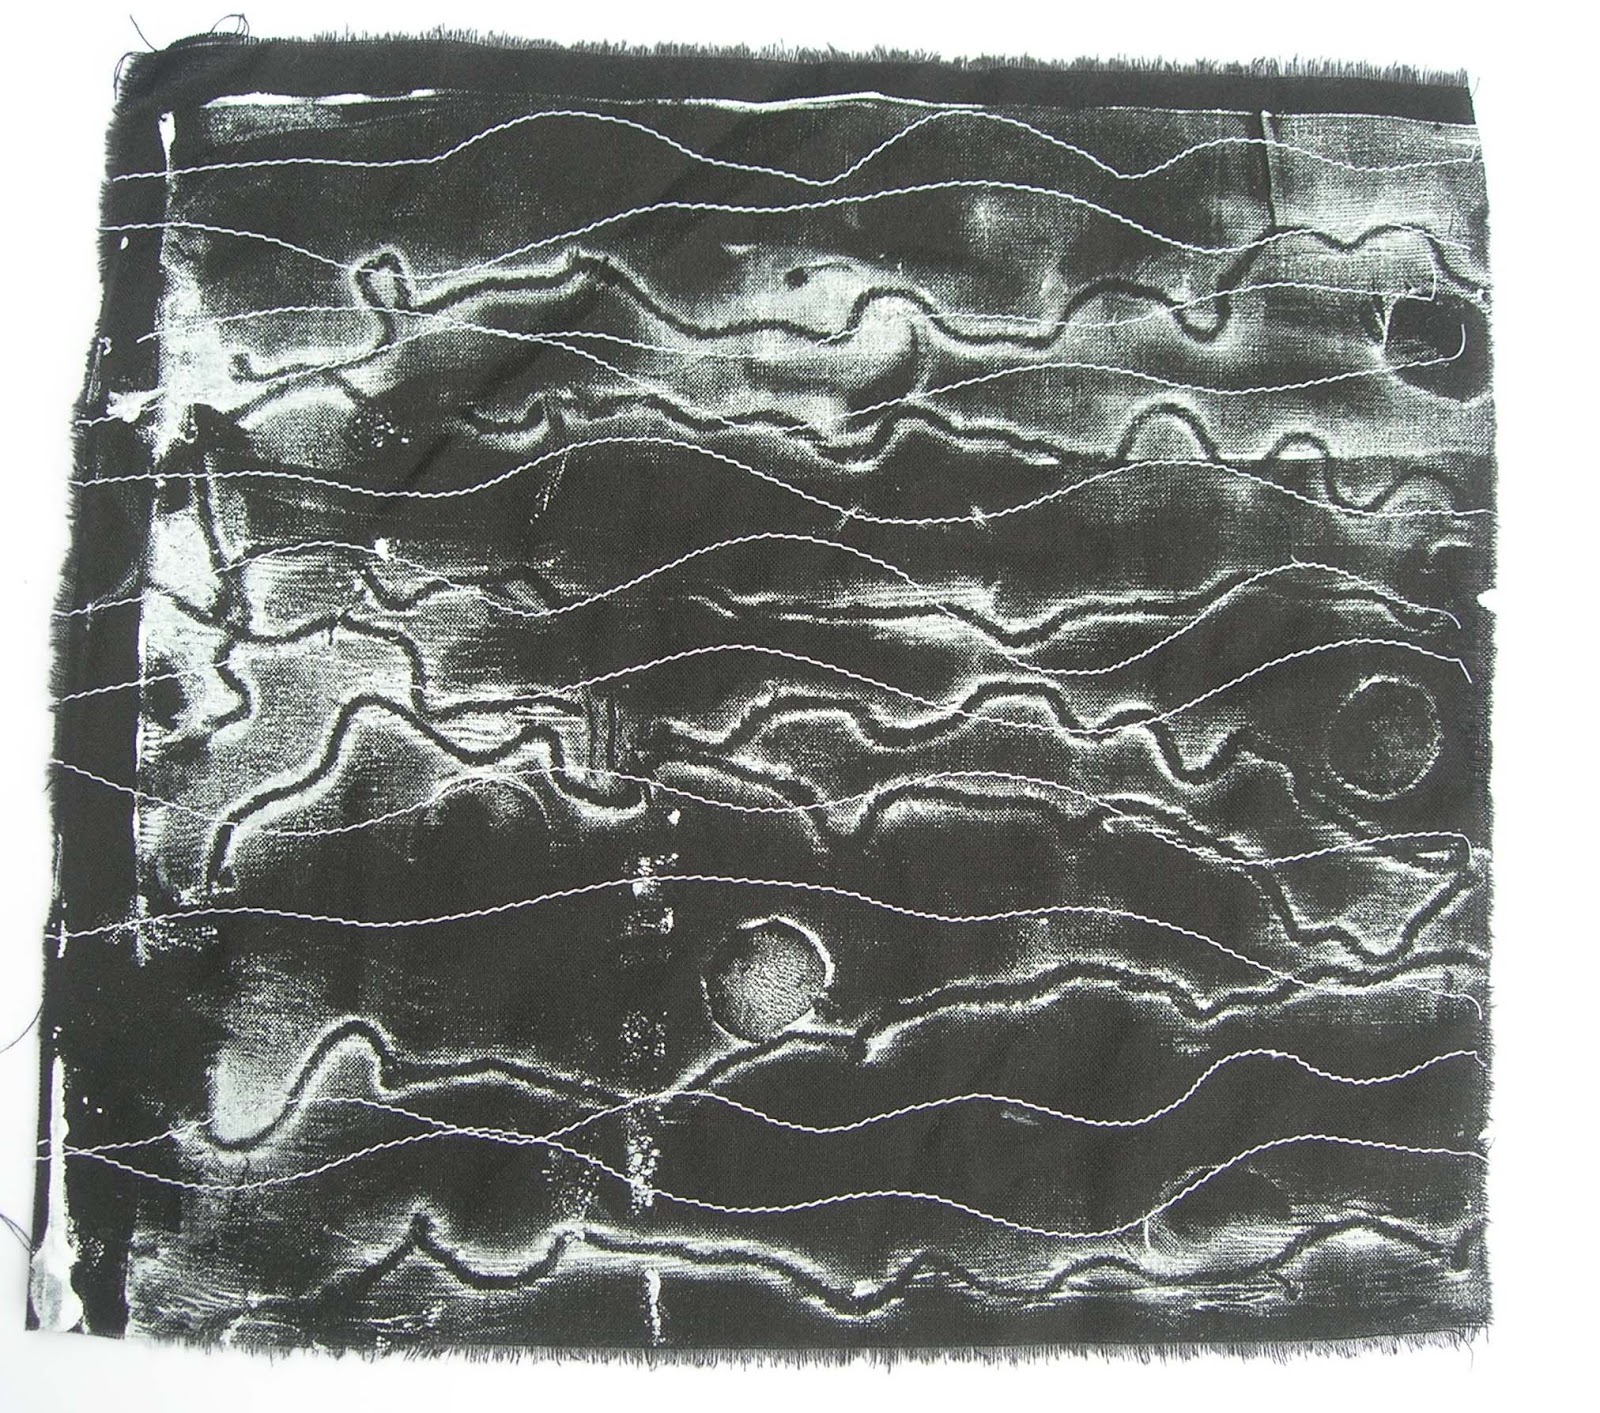
Next I used machine stitching to decorate some of the fabrics which I patterned in a previous chapter using monoprint, bleach and various methods of tie dye. This was fun even though I did break 3 machine needles and even a wooden frame!
 |
2.11.st 1
|
 |
2.11.st 2a (on left) and 2.11.st 2b (on right)
|
 |
2.11.st 3
|
 |
| 2.11.st 4a (left) 2.11.st 4b (centre) and 2.11.st 4c (right) |
 |
2.11.st 5a (top) and 2.11.st 5b (bottom)
|
 |
2.11.st 6
|
 |
2.11.st 7
|
 |
2.11.st 8
|
 |
2.11.st 9
|
 |
2.11.st 10
|
 |
2.11.st 11
|
 |
2.11.st 12
|
Finally I went on to use these to make stitched fabric samples.
Stage A
Sample 1 was a simple, fairly symmetrical one, just to practise and get my eye in. I started with the "stack and whack" method mentioned in the course notes.
 |
2.11.sample 1 smooth side
|
 |
2.11.sample 1 rough side
|
In my second sample, I joined all the equilateral (nearly) triangle shapes left over from the "stack and whack" to make what was meant to be a hexagon but actually had 7 pieces instead of 6. While considering what to do next with it, my eye was caught by some trimmings lying about on the floor, so I stitched them around the edge of the heptagon so they could radiate out from it. It made me think of some sort of sea creature, an octopus or a jellyfish, so I sewed a loop on the centre so it could dangle. I have photographed it both ways.
 |
| 2.11.sample 2 radiating |
 |
2.11.sample 2 dangling
|
In sample 3 I tried to incorporate some interesting decorative seams. These are evident in the first piecing, although they progressively disappear with subsequent cutting and re-joining.
 |
2.11.sample 3 first piecing
|
 |
2.11.sample 3 second piecing
|
 |
2.11.sample 3 third piecing (smooth side)
|
 |
2.11.sample 3 third piecing (rough side)
|
In sample 4, with the repeated cutting and piecing it was eventually too thick to seam again, so I butted the seams for the last piecing and used a wide machine stitch to make a faggoted seam.
 |
2.11.sample 4 (side 1)
|
 |
2.11.sample 4 (side 2)
|
Stage B
I started by making one large sample.
.jpg) |
2.11.B1
|
This I then divided into three using the Fibonnacci Series proportions. The first piece I left as it was, the second piece I cut and re-joined once more and the third piece I cut and re-joined twice more. I then re-assembled the three sections.
.jpg) |
2.11.B2 (side 1)
|
R.jpg) |
| 2.11.B2 (side 2) |


.jpg)
.jpg)
R.jpg)