It's been a busy time lately, with a trip away, helping friends move house, a family get together and getting ready for Open Studios soon. However, I've managed to do little and often on chapter 2. It's been a really enjoyable one that has enabled me to get back to the idea of "playing" -a welcome brief distraction from all the busy demands on my time.
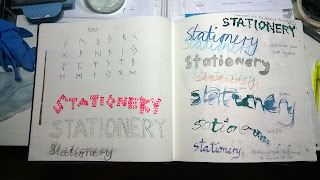
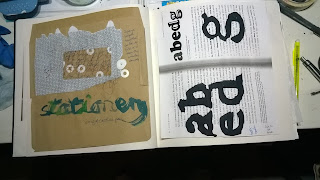
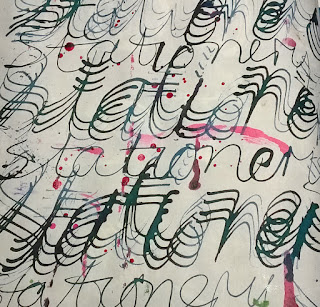
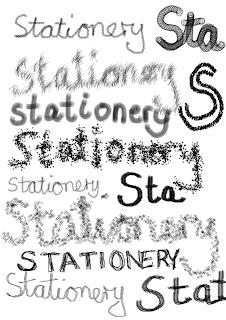
First we were asked to choose a word or letter and write it with different drawing methods, using a variety of implements and inks to form the letters.
 |
| 4.2.1 |
 |
| 4.2.2 |
 |
| 4.2.3 |
 |
| 4.2.4 |
 |
| 4.2.5 |
 |
| 4.2.6 |
 |
| 4.2.7 |
 |
| 4.2.8 |
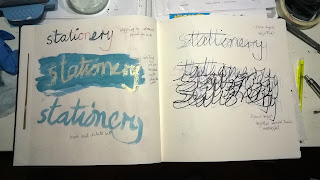
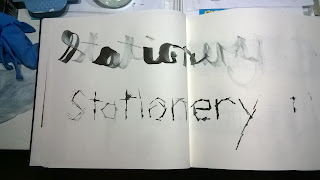
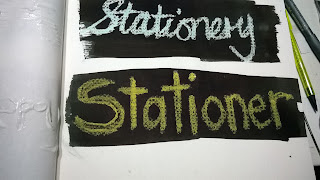
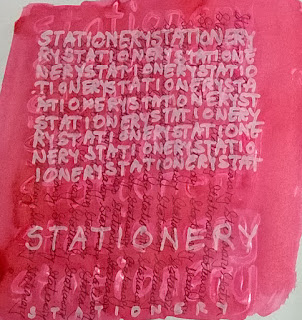
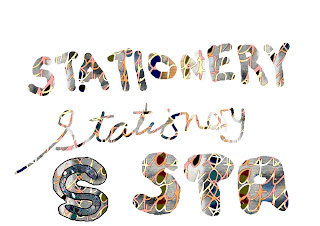
For the second part of the chapter, we were asked to form blocks of writing and to doodle into them or take rubbings of them to play with the patterns created.
 |
| 4.2.9 |
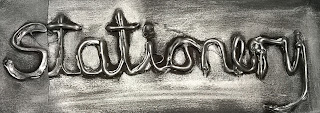
In 4.2.9, the word was written on card using a hot glue gun. Once cool and set, black ink was brushed on and rubbed with Treasure Silver metallic wax when dry.
 |
| 4.2.10 |
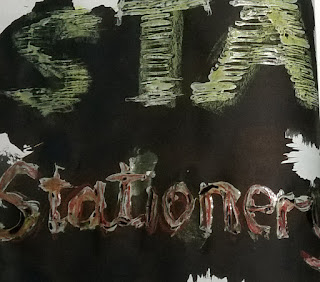
Various techniques were used in 4.2.10. At the top, the word was written with a broad brush and then a dipping pen used with bleach to write in the centre of the black letters. At bottom left, a block of black Quink ink was brushed on and the word written with a dip pen and bleach once dry. At bottom right four blocks of black Quink ink were applied and then the letters written with a dip pen and bleach.
 |
| 4.2.11 |
Both examples in 4.2.11 were done using PVA applied and then black ink brushed on once dry. An oil pasted was then applied to pick out the letters. In the top example, the PVA letters were formed by dipping the edge of a piece of card in the PVA and stamping them repeatedly to form the shapes. In the bottom example, a stick was used to dip in the PVA and write the letters.
 |
| 4.2.12 |
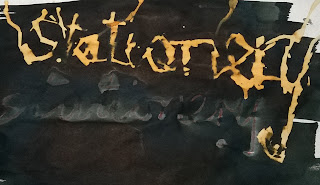
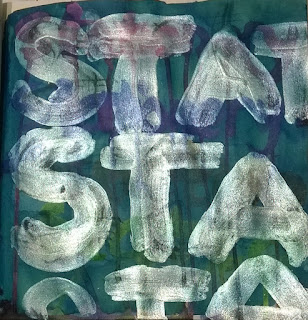
In 4.2.12, in the top example, the letters were formed by dipping the edge of a piece of card in bleach and printing them on top of a block coloured with black Quink ink. In the bottom example, the word was written with wax crayon before brushing on the ink.
 |
| 4.2.13 |
In 4.2.13, broad black letters were drawn with a paint brush and a dipping pen was then used with bleach to draw little patterns in each letter.
 |
| 4.2.14 |
In 4.2.14, the letters were printed on paper previously painted with black Quink ink using the guard for a craft knife and bleach. More bleach was splashed on to distress the letters.
For the final section of this chapter, we were asked to form various patterns using lines of writing. We were asked to do this both on paper, and using digital prints.
Paper Samples
 |
| 4.2.15 repeated rubbings from glue gun writing |
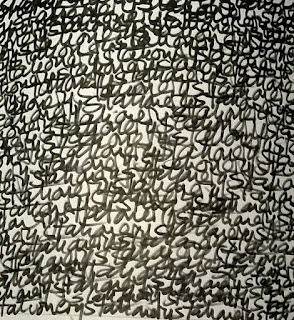 |
| 4.2.16 writing overlapped |
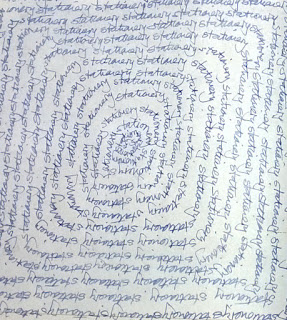 |
| 4.2.17 writing in a spiral |
 |
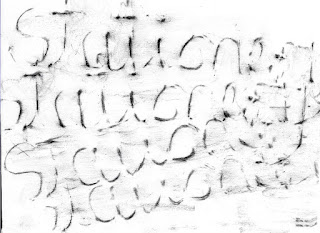
| 4.2.18 writing backwards with my left hand , size of letters increasing |
 |
| 4.2.19 making a pattern |
 |
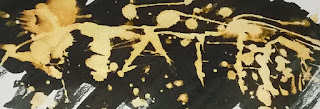
| 4.2.20 writing using a plastic picnic fork, writing with dip pen in between and contrasting splashes and smudges |
 |
| 4.2.21 three layers: expandable paint, red ink over, dark red gel pen over that and white pen over that |
 |
| 4.2.22 close lines of writing with dip pen and black ink, bleach with brush over and splashes allowed to run over that |
 |
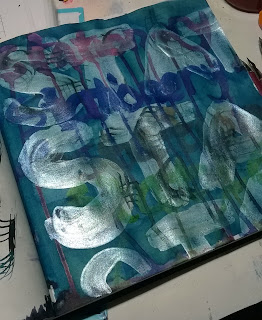
| 4.2.23 large thick letters with emulsion paint, black ink on top, bleach with various utensils on top of that |
 |
| 4.2.24 |
 |
| 4.2.25 |
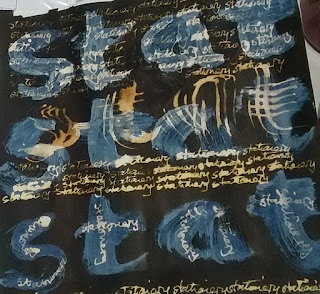
2.4.34 and 2.4.35 are different views of the same sample. First letters were written using a plastic fork and black ink. Next letters were written using various colours of ink with a brush While still wet the page was tilted to allow the colours to run. Once dry, large letters were written using a brush and irridescent medium. Finally blue ink was painted over and wiped off with a paper towel while still wet. Seen directly on, the irridescence hides the underneath layers, but from the side, they become visible.
Digital Samples:
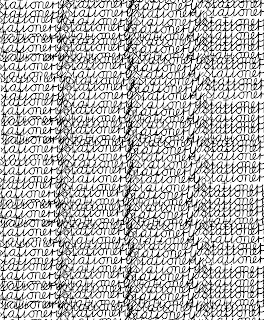
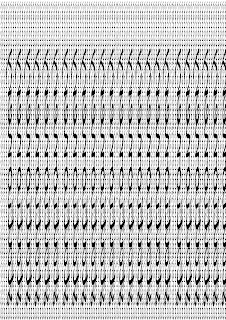
I started by making a sample of handwriting. I drew a grid lightly in pencil to help me keep the writing even (I later rubbed it out). I used the cursive handwriting that I learned in primary school in the 1950s. I scanned it into the computer and then started playing around with it to make patterns.
 |
| 4.2.26 handwriting sample |
 |
| 4.2.27 simple repeated pattern, slightly overlapping in places |
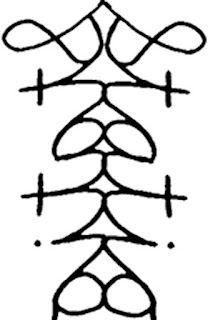 |
| 4.2.28 mirror repeat |
 |
| 4.2.29 another mirror repeat |
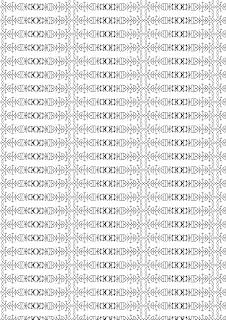 |
| 4.2.30 Mirror repeat made into a repeated pattern |
 |
| 4.2.31 part of 4.2.29 with spaces filled by other computer generated patterns |
 |
| 4.2.32 mirror repeats layered over simple repeat pattern |
 |
| 4.2.33 simple repeat pattern distorted and turned sideways |
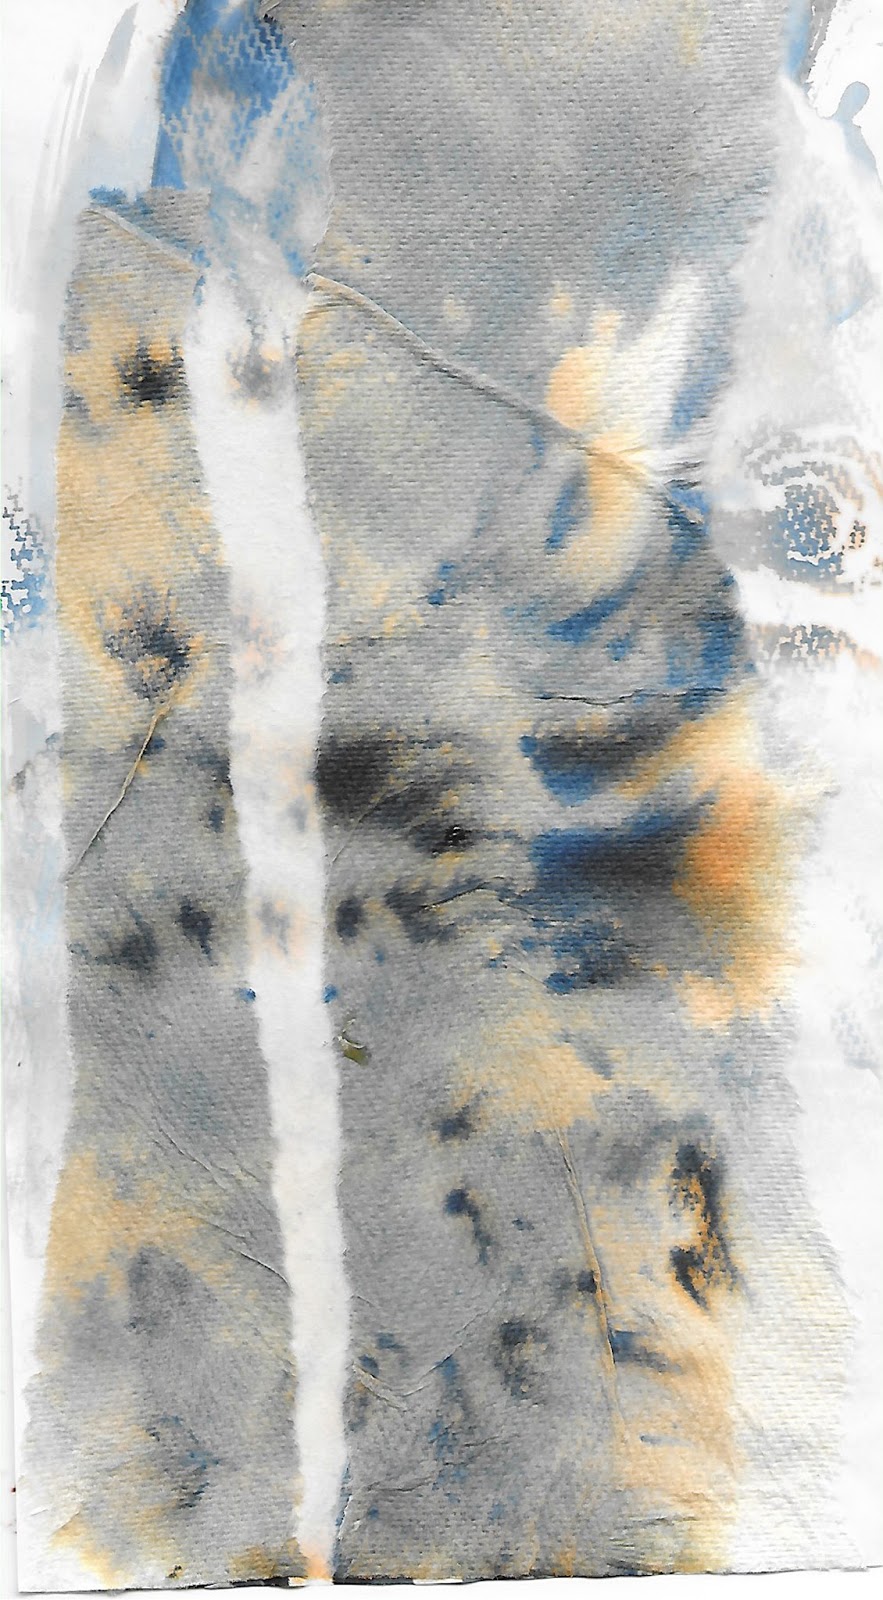
While doing the work with ink and bleach, I used a paper towel to mop up the splashes. I loved the colours which were left on it when the bleach turned the black ink into a tan colour and when wet, the ink split into tan and blue. I tore strips from the paper towel and glued them onto a sheet of plain white paper and I scanned this into the computer to make a background for layering.
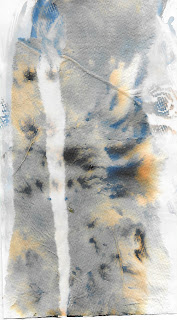 |
| 4.2.34 stained paper towel collage |
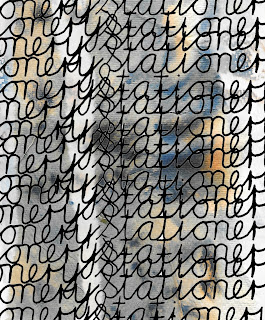 |
| 4.2.35 repeated pattern layered over stained paper towel collage |
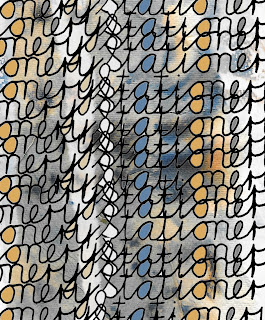 |
| 4.2.36 as above but with some letters coloured in using colours selected from areas of paper towel |
 |
| 4.2.37 playing around on Photoshop |
 |
| 4.2.38 using the "pinch" filter |
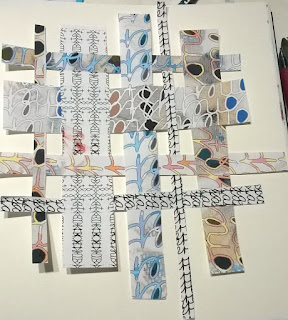 |
| 4.2.39 making a grid with trimmings from various digital prints |
Finally, I played around with the various brushes available in Photoshop to try writing with them.
 |
| 4.2.40 |
I also used the clone stamp tool to select a previously saved image and drew with it onto a fresh sheet.
 |
| 4.2.41 |
I have really enjoyed this chapter. Although I've been doing it at a very busy time, it has been an escape from meetings, chores and housework rather than just another task to be fitted in - a chance to play like a child again.


I love your playing,you have some wonderful results.
ReplyDeleteI love the effects you've achieved and I like how you've explained your process. The mirror repeat of the words back to back 4.2.28 looks amazing, such a great idea. I really enjoy following your creative journey.
ReplyDeleteYou look as if you've been having great fun.
ReplyDeleteLove these Catherine, especially the digital pinch filter
ReplyDeletenever have I seen one word worked so hard, you should get highly commended!My favorite is the messy one with ink bleach & drips but I love the mirror imaging & the grid.
ReplyDeleteKeep up the good work Catherine - this module is fabulous later on especially the drawn thread work - so effective XX
ReplyDelete