
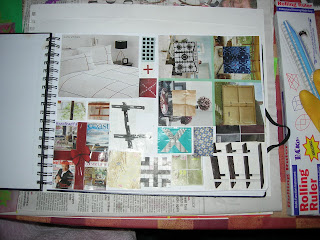
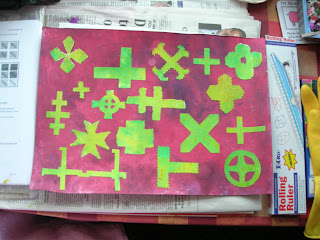
Design Sheet A
I enjoyed working on this sheet, especially distorting my original shape to fit a circle, triangle or diamond.

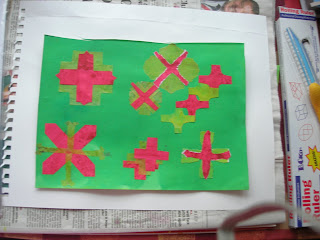
Design Sheet A (continued)
I enjoyed working with a different variation of my colour scheme here. I also found the unexpected negative shapes interesting.
 Design Sheet A (continued: repeat pattern with distorted shape)
Again, the negative shapes that appeared intrigued me.
 Design Sheet A (continued)
 I had another try at a pattern with a distorted version of my original shape. this is a very regular pattern, but it doesn't look it because the shape is assymmetric. I think if repeated over a larger area a regular pattern might appear.

Design Sheet B
(i) Scale
I enjoyed playing around with different sizes of shapes. I initially used bluetack so that I could try different ideas till I found one I liked.
 Design Sheet B
(i) Scale (continued)
I hadn't thought to try cutting up a shape and using just part of it until Sian suggested it. I was surprised by the shape that I got and enjoyed using it to play about with different sizes of images.
I hadn't thought to try cutting up a shape and using just part of it until Sian suggested it. I was surprised by the shape that I got and enjoyed using it to play about with different sizes of images.

Design Sheet B
(ii) Edge to edge repeat pattern and
(iii) Border and corner
I was lucky with my border design that the corner happened easily and naturally without any ingenuity needed on my part. I love the richness of pattern on this page.

Design Sheet B
(iv) Linking border
I think this looks quite pretty and I like how the colours work together. However, I couldn't control the glue, sticky fingers and the complicated interlinked shapes, so the corner has turned out more of a curve than I intended! It looks like flowers in a garden, so maybe the irregularity suits that.

Design Sheet B
(v) Linking two different shapes
Here I combined a new cross shape with my original shape, cut into 4 and just hooked in each corner. I think it looks vaguely Chinese.
 Design Sheet B
 (vi) New shape from old
This was quite interesting to do, and produced very rich patterns. I was a bit pushed for time when working on this, so played around with photocopies for some of them, drawing the shape randomly on the back of a photocopy. I rather liked the irregular ones at the bottom of the page that I got this way.
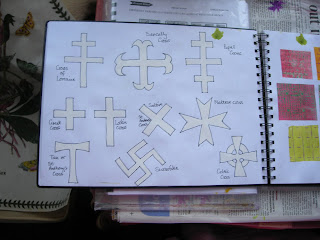
 Design Sheet C
(i) Complex counterchange
This was my first try at this. I tried a really simple cross first.
 Design Sheet C
(i) Complex counterchange
(ii) Divide and separate
Choose new design unit
(iv) Pattern with new design unit - symmetrical
This was a really interesting part to work on.
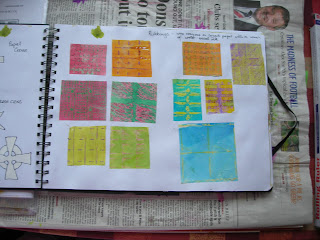
 Design Sheet C: Patterns with new design unit
 Design Sheet C: Patterns with new design unit
(iii) overlap
(iv) symmetrical
(v) edge to edge repeat
(vi) interlocking
I was really surprised how different all the results looked from the original shape!
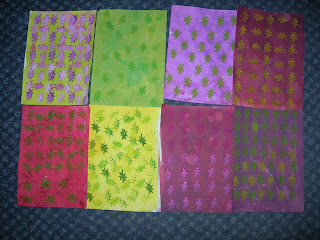
I find pattern fascinating and have really enjoyed working on this chapter. Having dyed the papers using the colour on each side on the colour wheel as well as the two main colours has given such a wide range of variations of colour that choosing the colours for each design sheet has been most enjoyable and not nearly as restrictive as I had thought it might be. It is such a delight to do something creative that is just for me, and a perfect antidote to a stressful day at work!


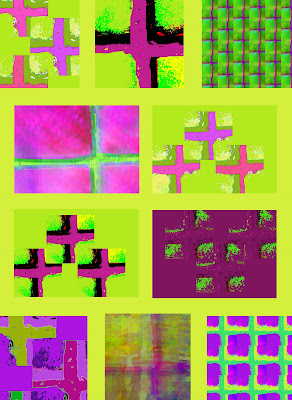
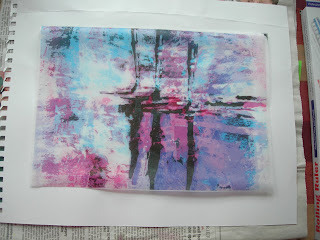 Here are some more of my digitally altered photos:
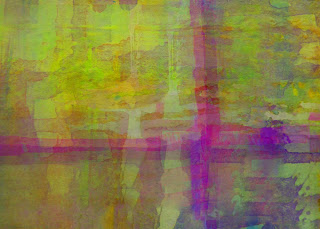


 Sorry, got this one in twice by mistake and can't find out how to delete it!!


